Kaypro 2000 Laptop Disassembly
The first step to get to the system board (after removing the lift out keyboard) is to remove the plastic cover over the modem. There is a screw at the front center, and another in the vertical metal piece where the disk drive meets the plastic cover. Move the plastic cover towards you, and lift it out...but be carefull with the wires for the keyboard connector and serial port! The keyboard connector will slide down out of the plastic cover, and the serial cable will unplug sideways from the system board.
The modem is exposed when the plastic cover is removed. If the two wires and connector are present at the top right corner, unplug them. Then lift the modem off of it's connector at the center of the modem board.
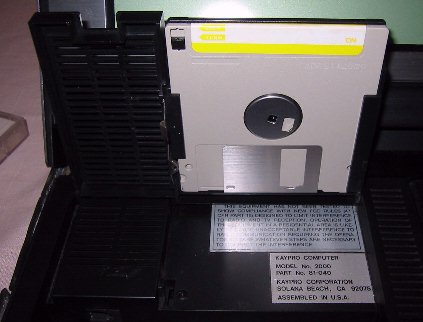
Next, lift the plastic retaining piece on the floppy drive cable header, and pull the ribbon cable out. Now remove the five small screws holding the metal cover, and carefully lift the cover with disk drive attatched, out of the main body.It's a tight squeeze at the front, and may require gently prying between the raised flanges and the side of the main body.
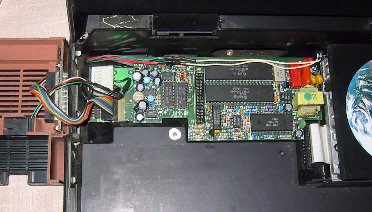
After removing the metal cover, remove the black plastic insulator from above the board. It just lifts out.

There are several brown plastic bushings above the board, which will fall out and get lost if you don't carefully remove them now.
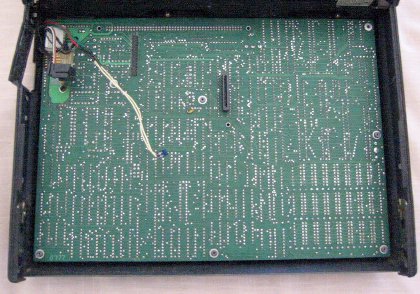
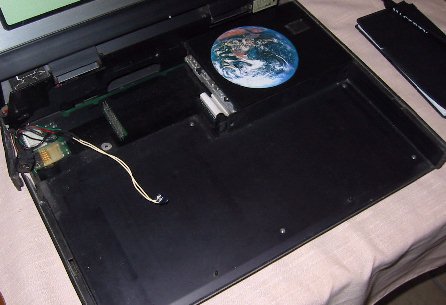
Remove the one screw at the right rear corner, and unplug the white power connector at the left rear corner. Now you can carefully lift the board out partway, pull out the display ribbon connector from it's socket underneath the board, and...
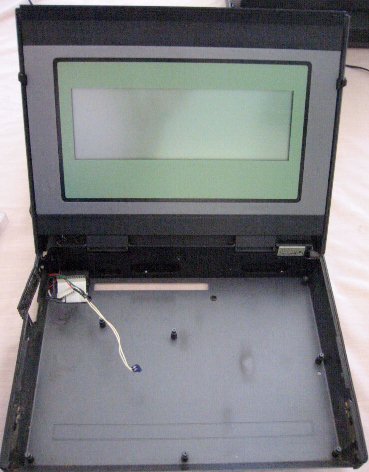
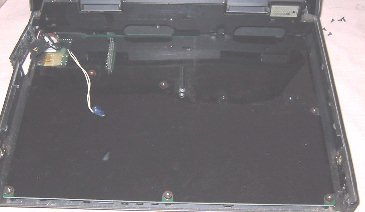
...you're left with a naked Kaypro 2000!
Come to think of it, I have this Toshiba 150mhz laptop board just laying here...it would probably fit right in....
nah!
The battery pack is hiding at the back of the Kaypro 2000. To get to it, remove the four tiny screws on the rubber strip on either side of the carrying handle. Then remove the 4 screws that attatch the handle to the lower half of the computer, and also the two screws that attatch the ends of the upper rear metal cover to the lower half (these screws are all hidden under the rubber center strip, which you can liftout of the way).